Today’s post is going to be different. I have used some really nice sketchbooks in the last few years but have been unable find them in shops any more.
I liked their format, the small A6 landscape shape, their hard cover. I found some other sketch books but they are not the same: The shape is too wide, or the cover is too soft, or the paper is too thin or too white.
So I decided to have a go and make my own sketch books. This is my third one, as I learned from the mistakes of my first two. And this is how I made it:
I had some A4 card paper at home. I cut it lengthwise with a craft knife, making two sections 9 cm wide. I was left with a spare strip of paper (approximately 3 cm: I clip them together and use them for testing colour mixtures)
I purchased a sharp pointy gadget from the DIY store near my home. There are also specific art shops where you can buy a bookmaking awl.
I made some thin pencil marks following the holes on a notebook cover as guide.
Then I made the holes on bunches of paper, 4 or 5 sheets each (first I folded them in half, to know where the holes should be)

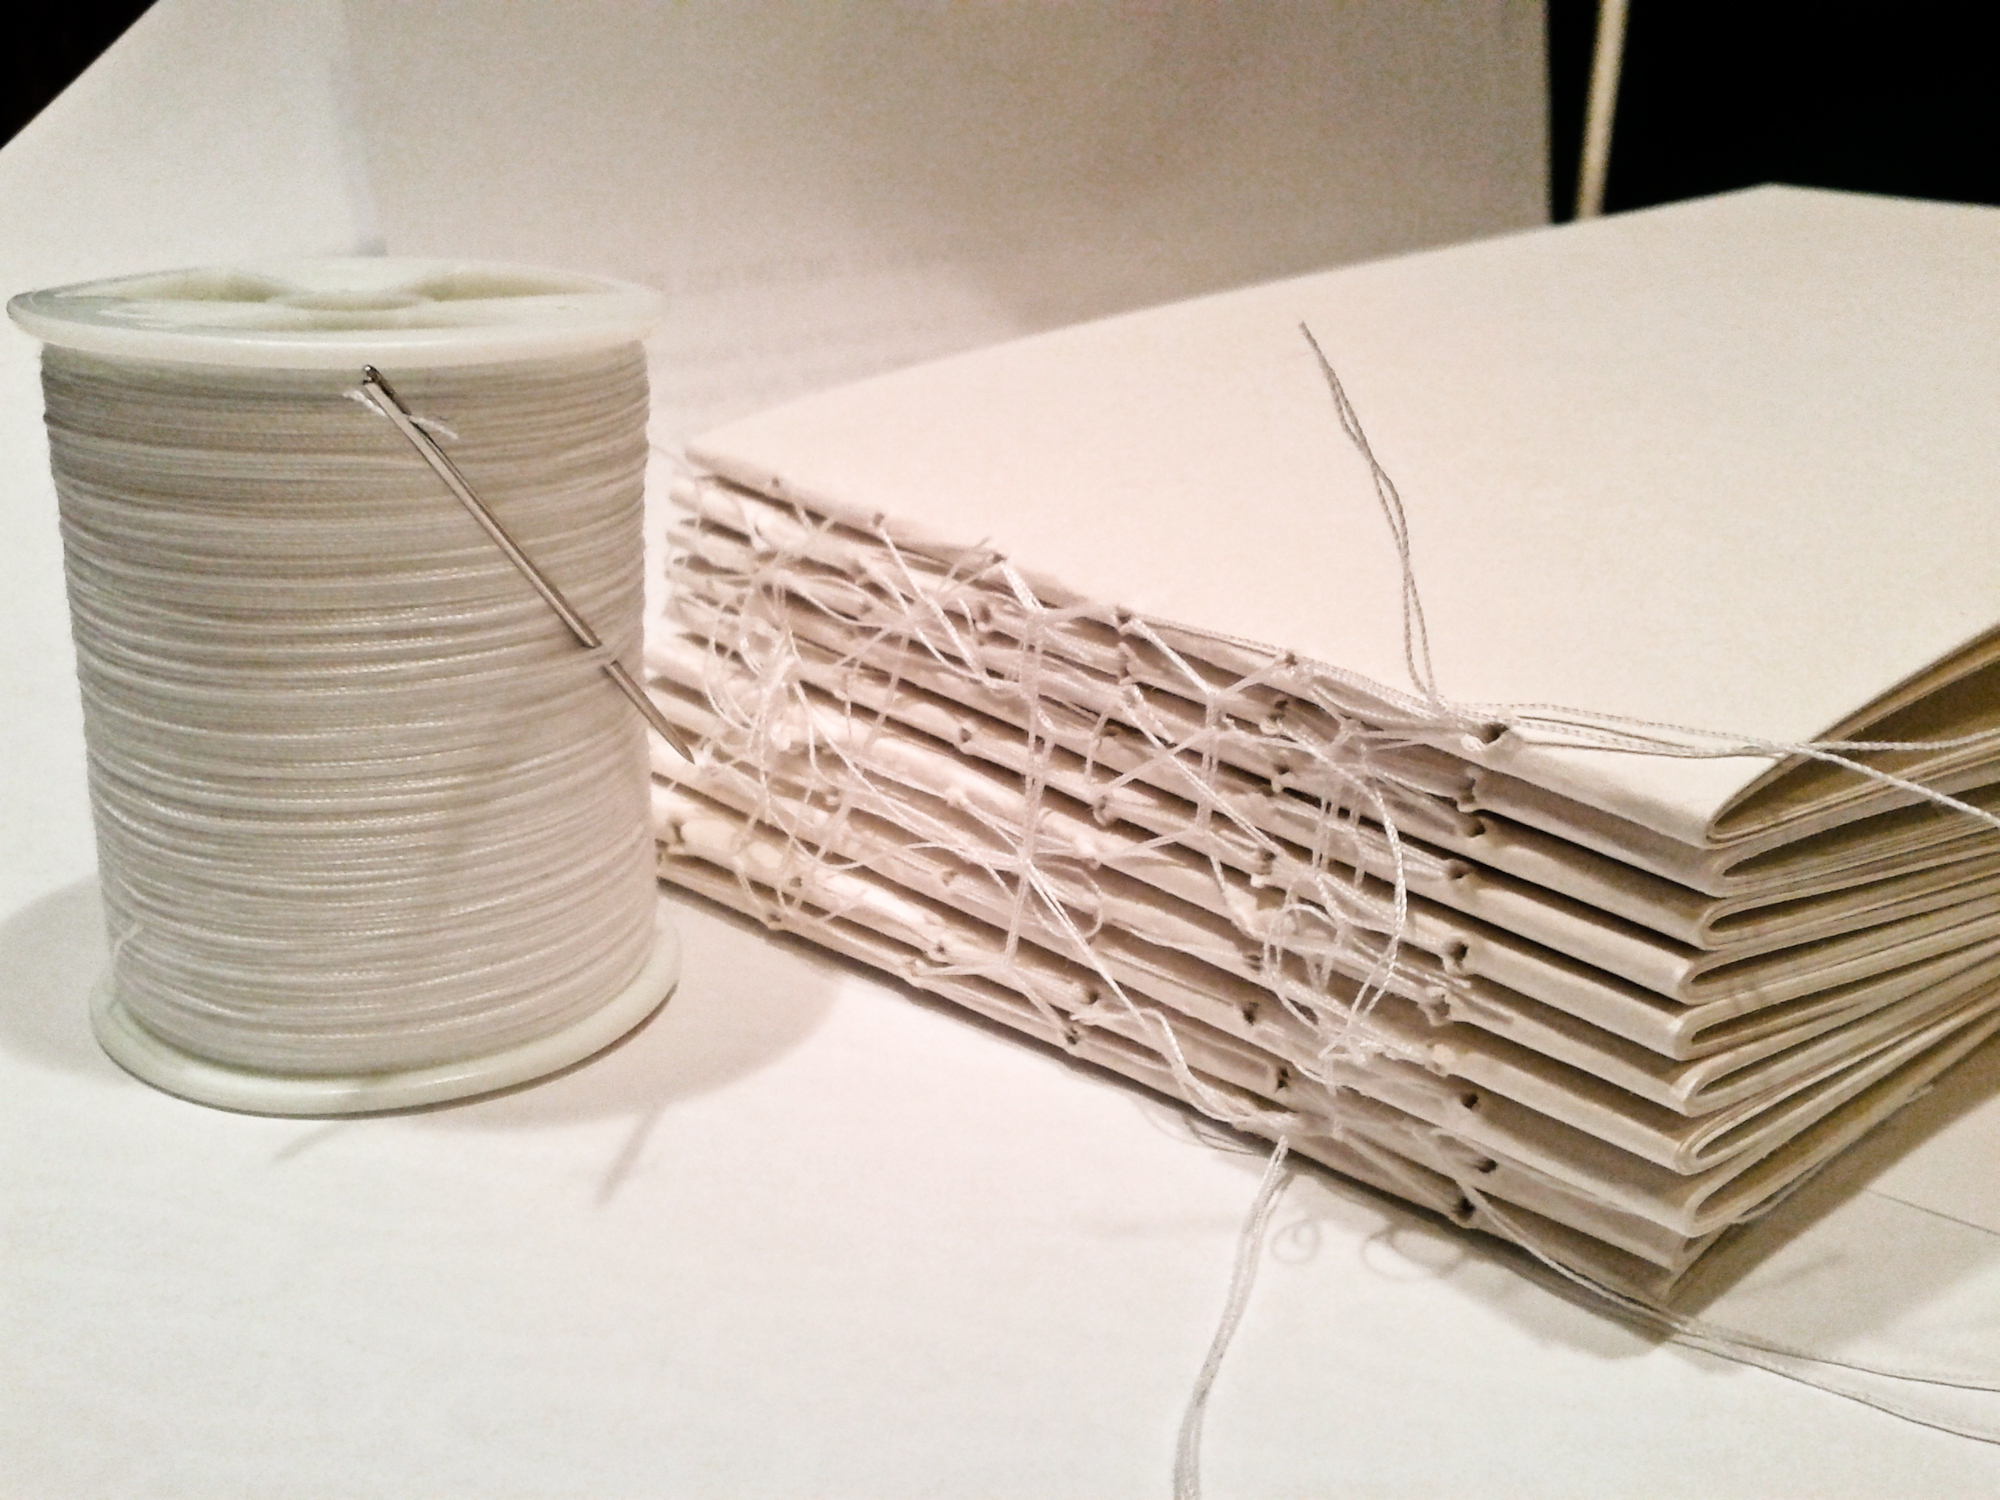
The next step was to get a needle and thread and good lighting. I started sewing the bunches individually. Make sure your holes are wide enough so your needle won’t have to squeeze through (I broke a couple in previous occasions)
Once all were sewn individually I joined the sides of the thread, so all the bunches (AKA ‘signatures’) were connected. I prefer to be generous with the sewing, although you don’t need to use much tension: A tight thread tends to pull on the paper and may tear it when you turn the pages or try to open the book flat.
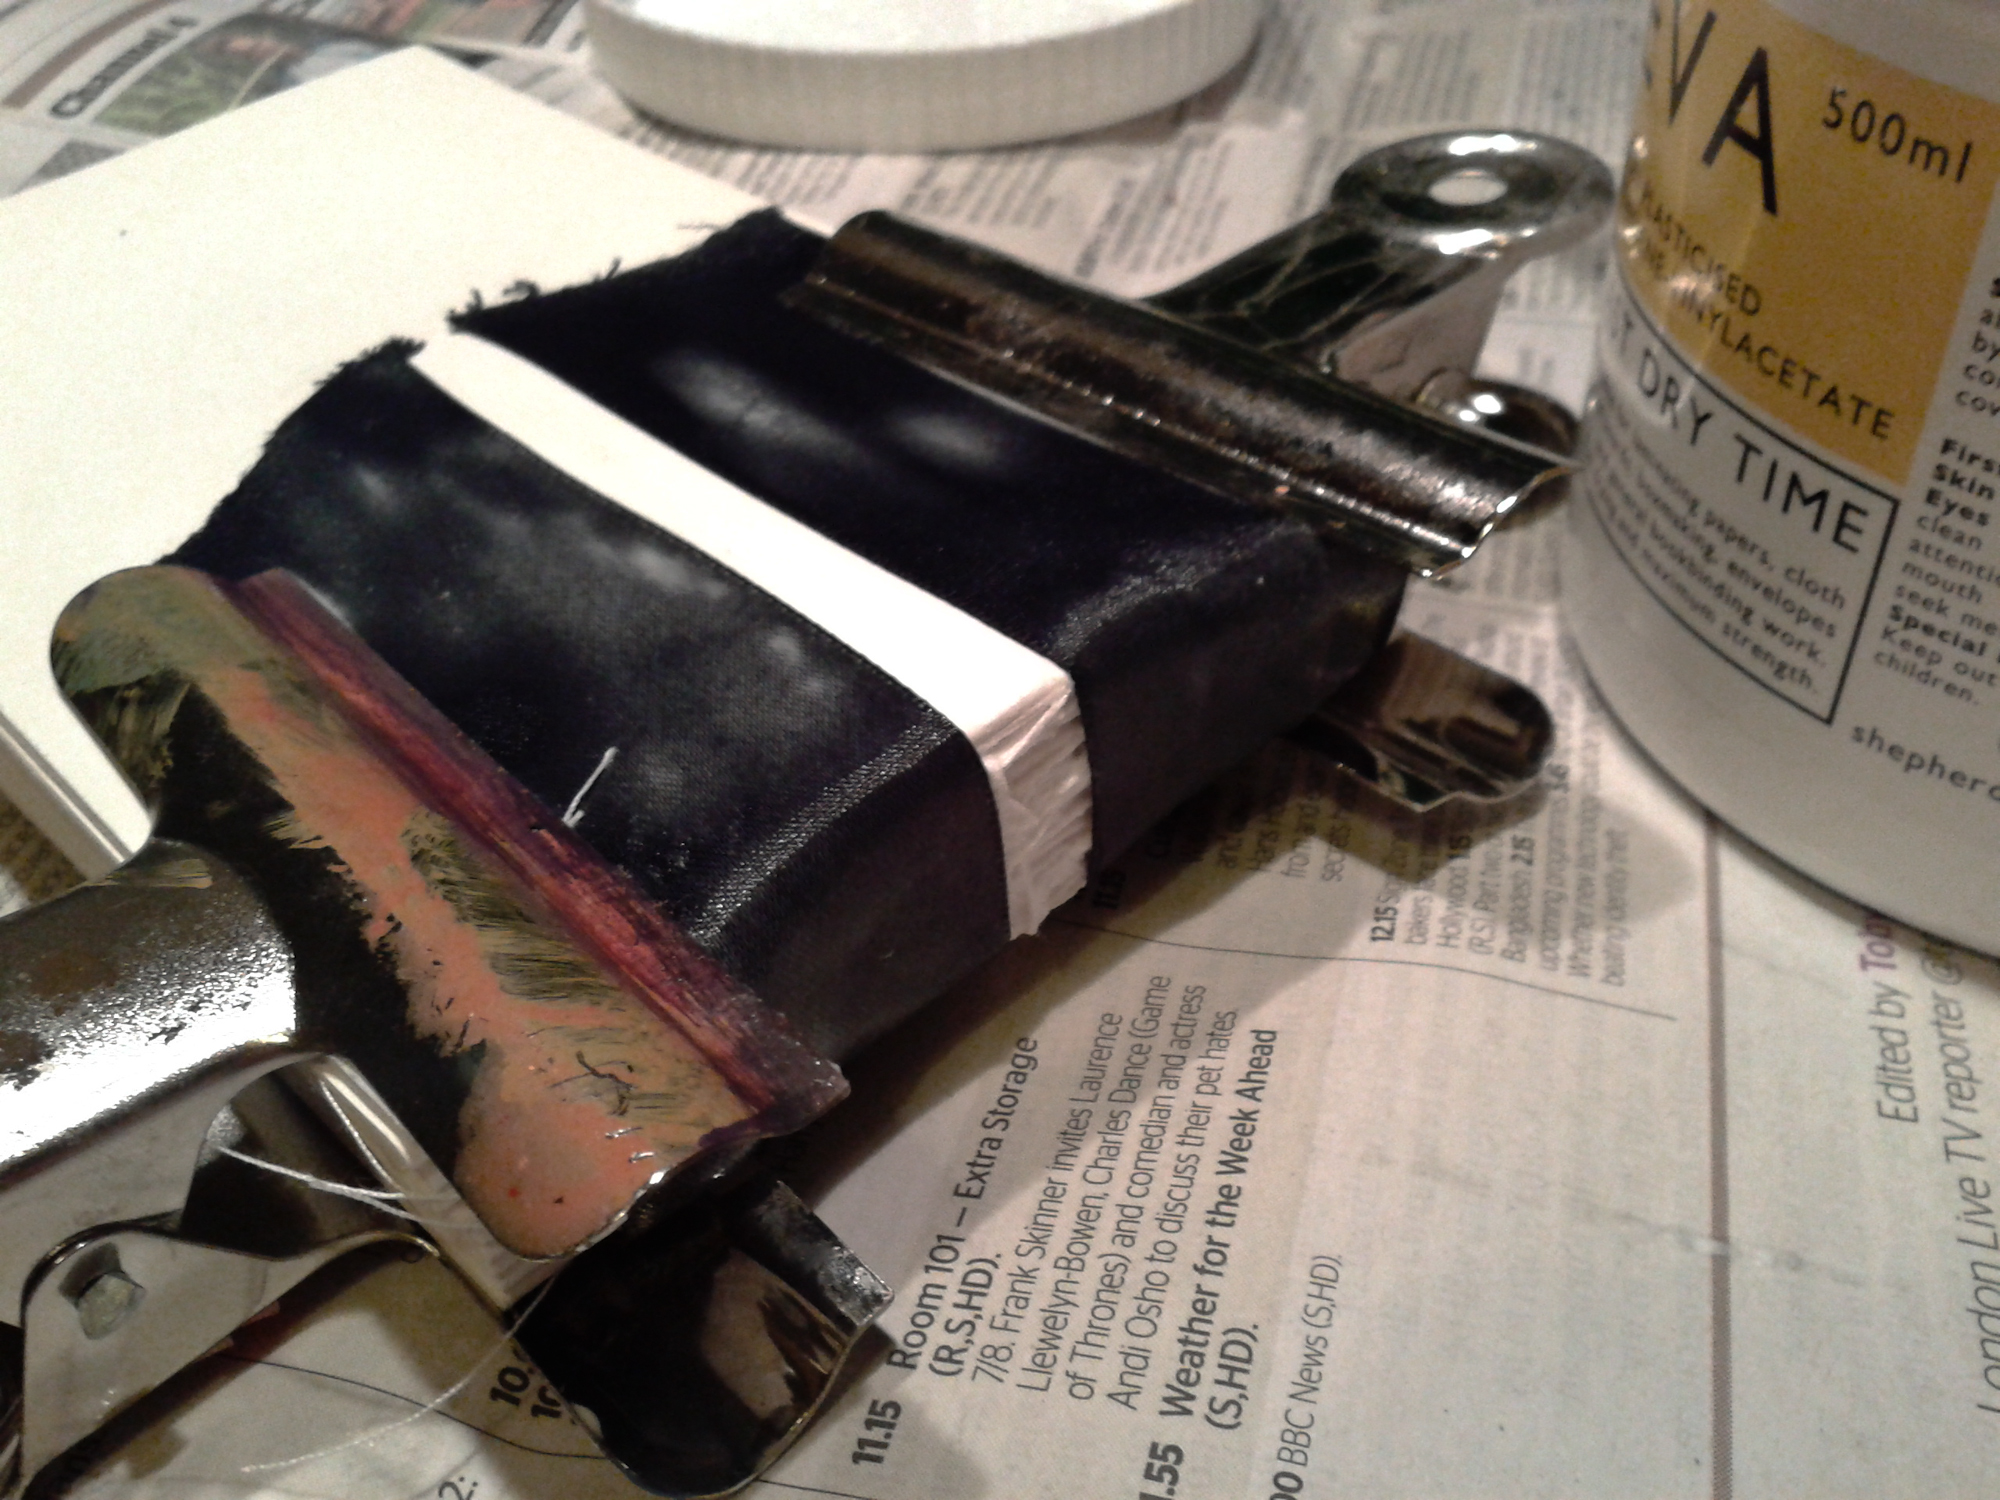
After the sewing is done the next step I did was gluing the bunches of paper to a piece of fabric. I found wide ribbon does a good job, it can flex well and it won’t add bulk when I glue the covers.
I used Eva-con R adhesive from a bookbinders shop.
I clamped the book together for a day or two for the glue to dry.
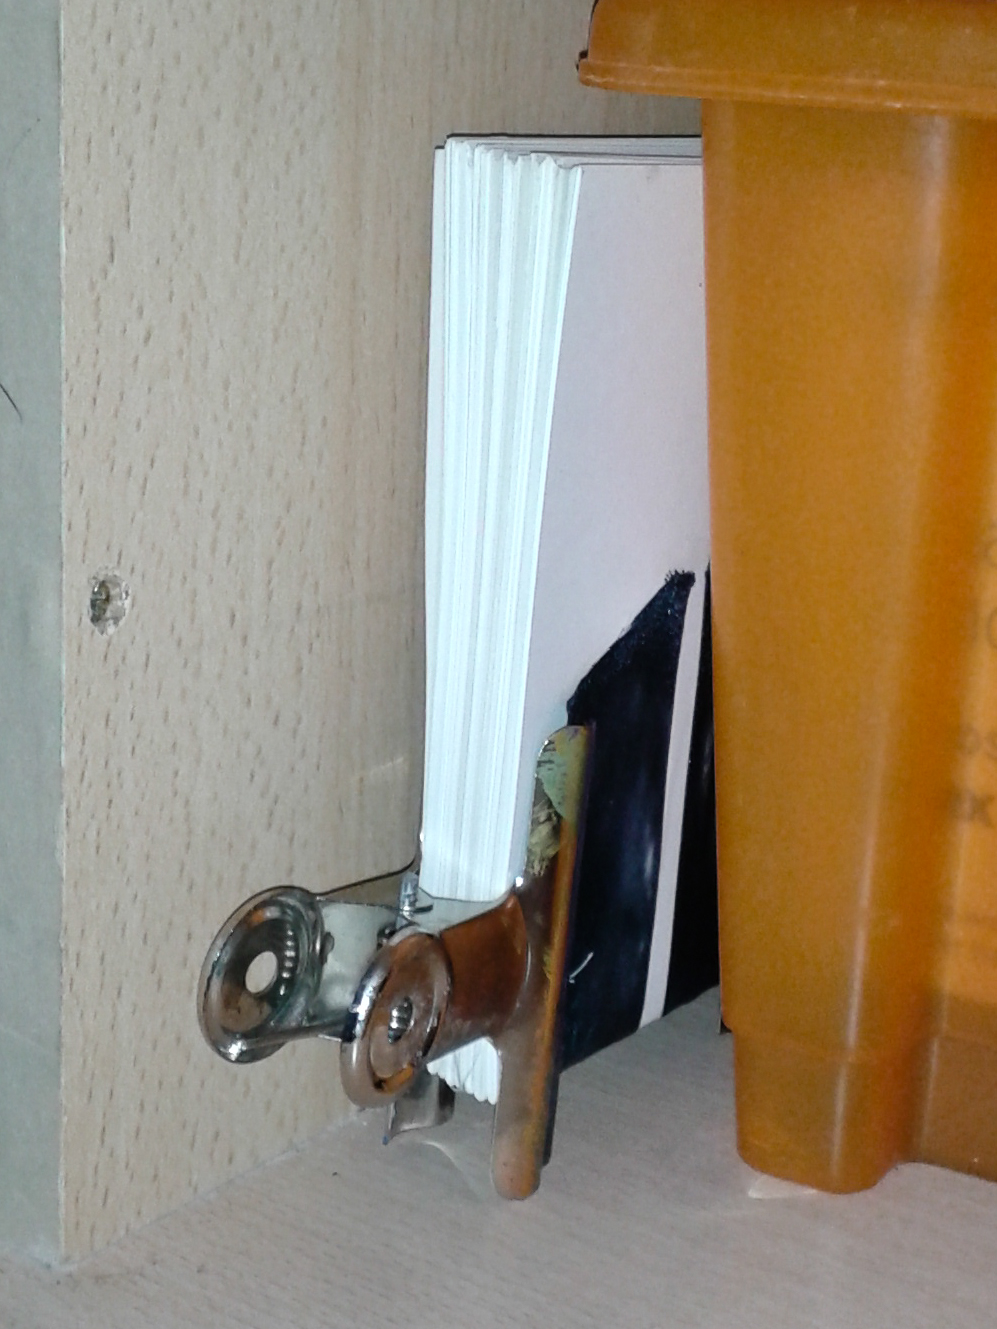
I left the book to dry vertically, so any drips would go towards the spine and not anywhere else. I kept it inside a kitchen cabinet held against a box to make it stay up.
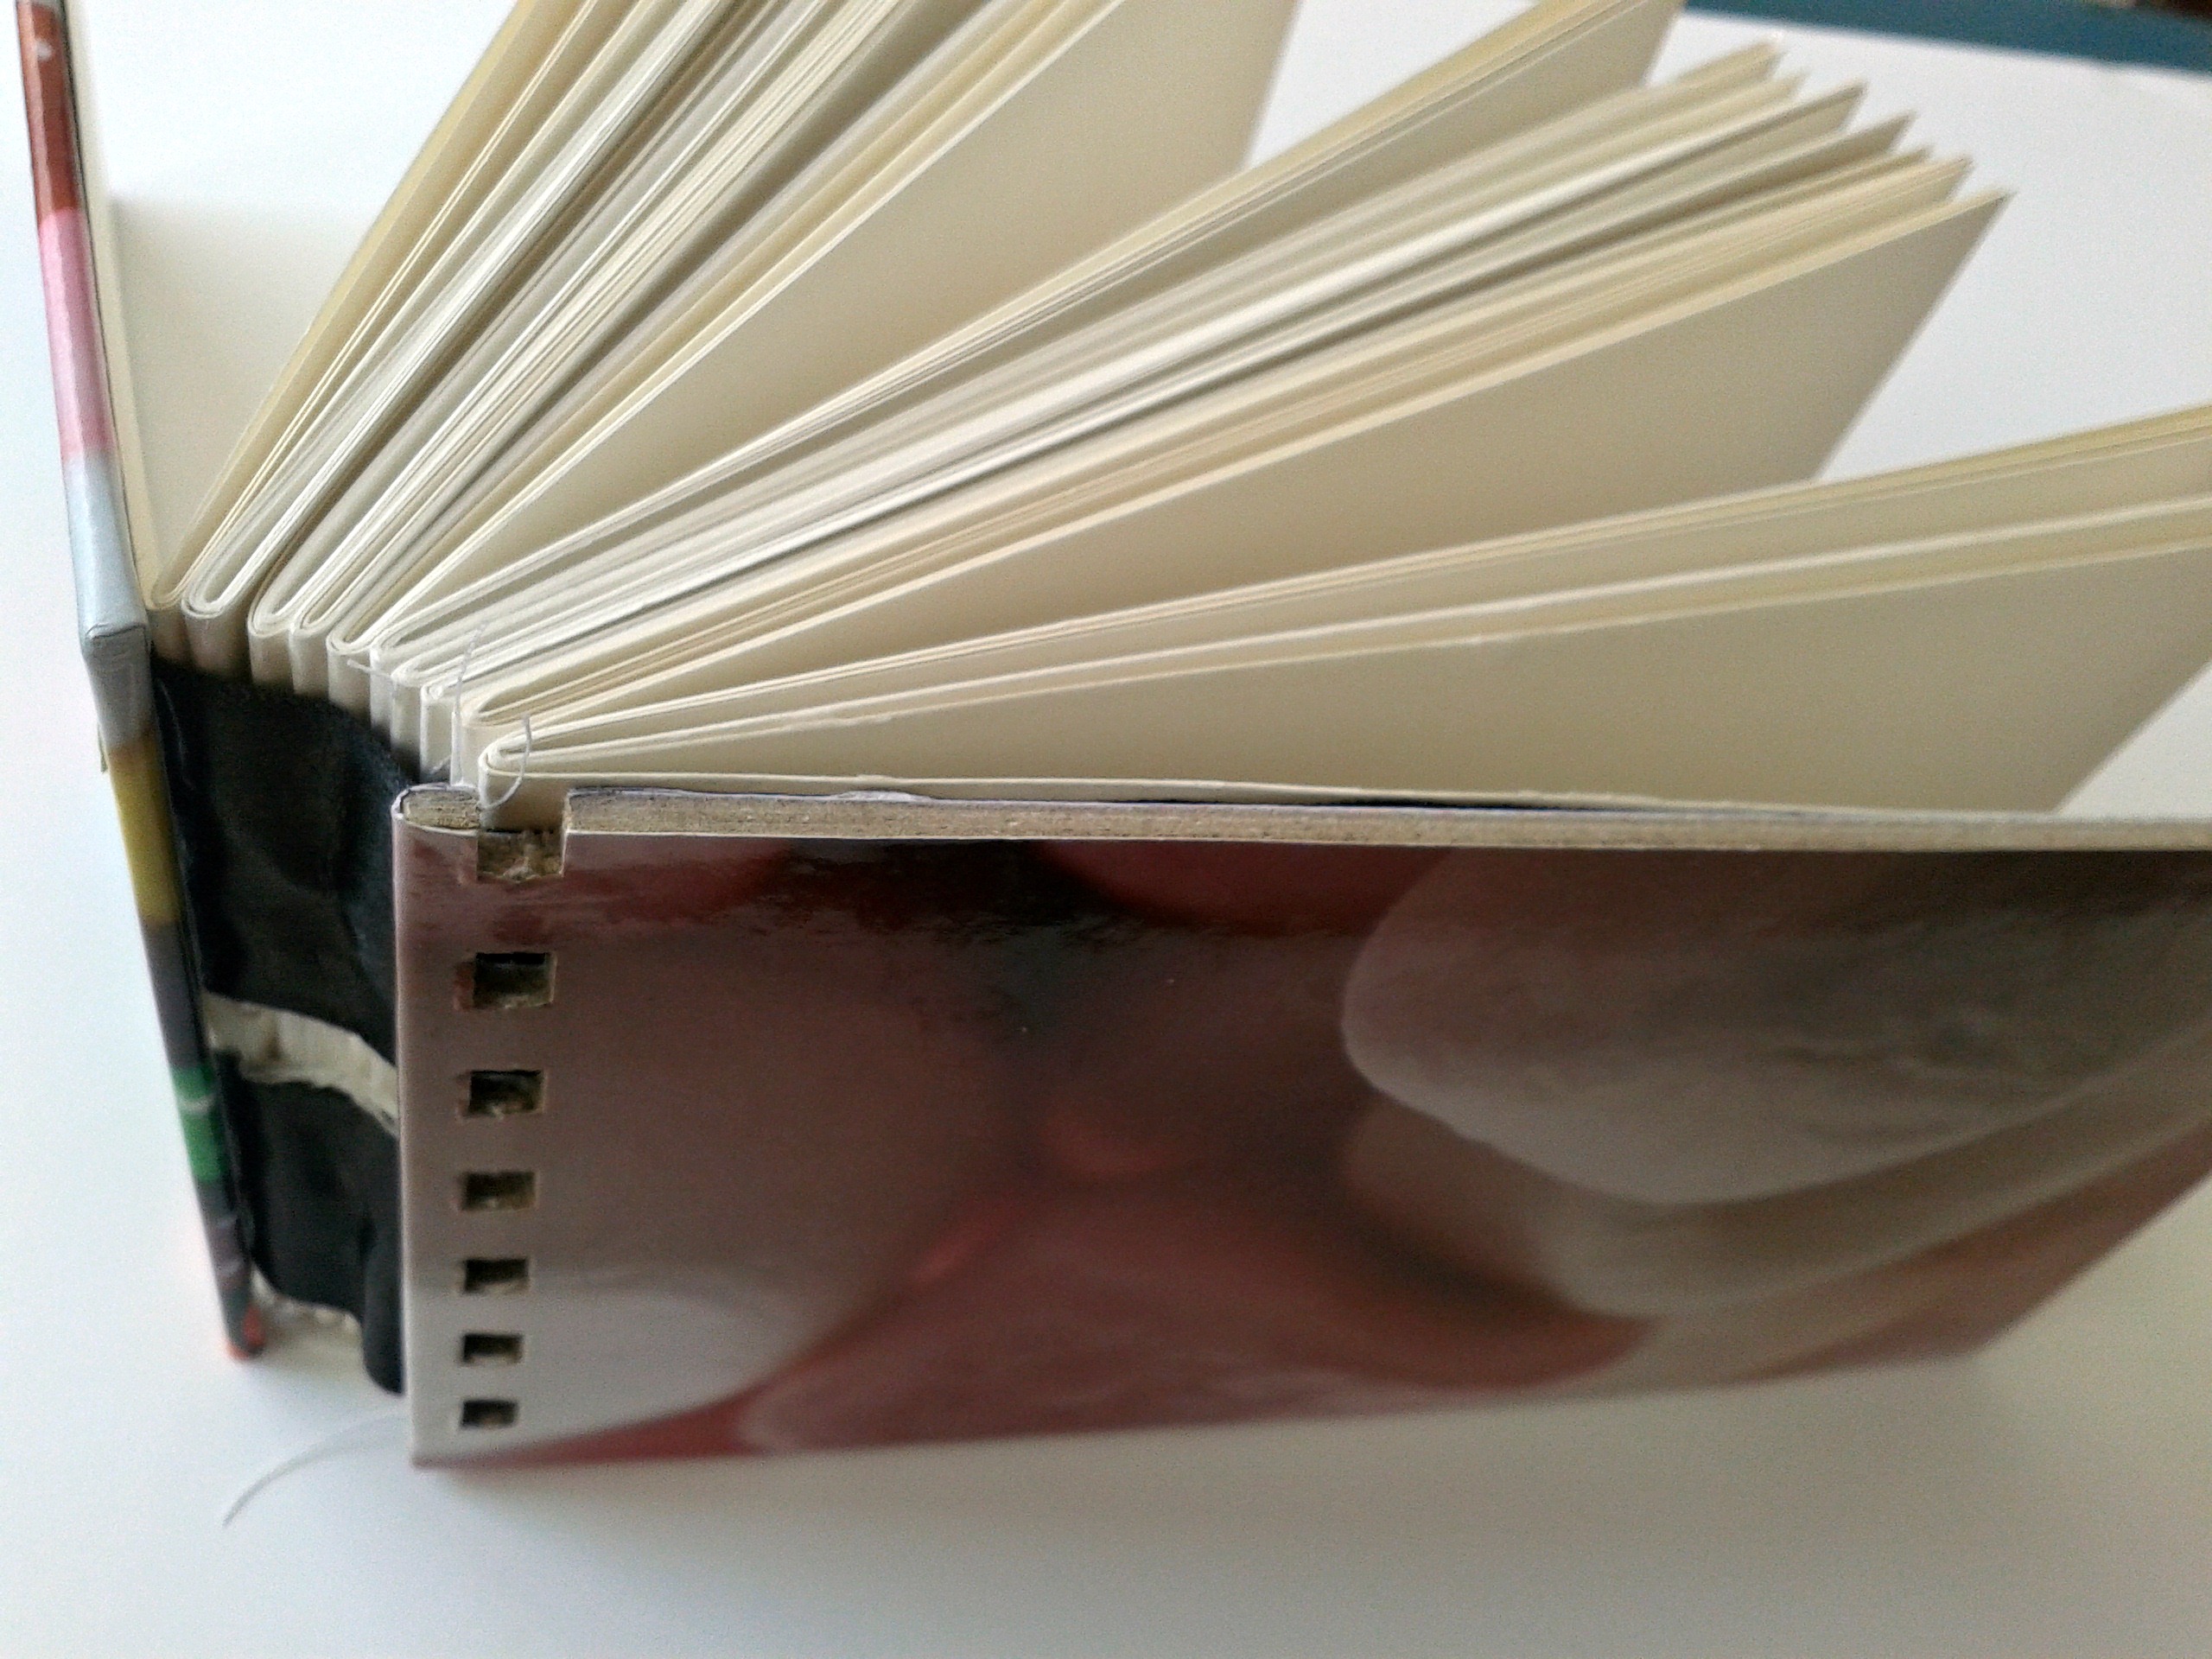
Once the glue is dry it’s time to glue the covers. I made mine from some old notebook hard covers I had been keeping for no reason. I cut them to be slightly wider than the paper inside, and I applied glue -not too generously, you don’t want drips now- to the first and last pages, before letting it dry horizontally under a stack of books.
This is the final product. You can, if you like, cover the spine with self adhesive film or glue some piece of fabric all over the covers.
I don’t mind that it looks rough and homemade, so I leave mine like so.
Tachán. (or «ta-daah»)
Thanks for reading this.
PS: for more info on recycled sketchbooks check this post and this other one